從零打造 AI 第二大腦
使用者跟著做完,會擁有一個能自動擷取網路資訊、自動整理、並能透過對話來探索的個人知識系統。
§1 概覽
概覽
透過本 Playbook,您將學會如何從零開始搭建一個自動化的 AI 第二大腦。這個系統能夠自動從網路擷取資訊、智能整理您的筆記與文件,並讓您透過自然語言對話來探索和運用這些知識。無論您是知識工作者、研究人員或學生,都能有效管理數位資料,實現知識的自動成長與流動,讓您的筆記不再是靜態檔案,而是能與您互動、學習的智能夥伴。
整體架構
本 AI 第二大腦的架構基於「本地筆記中樞 (Obsidian) + 雲端同步 (Google Drive) + AI 自動化管理 (Claude Code/Codex) + 外部資訊擷取 (Web Clipper)」的整合模式。核心理念是將原始資料、個人創作與 AI 精煉知識分層存放,確保資料源的純淨與知識體系的自動化成長。透過 AI Agent 的定時排程,系統能自動消化新進資料並生成結構化報告,最終實現一個會自我學習、不斷擴展的智慧知識庫。
---en---
Overview
Through this playbook, you will learn how to build an automated AI second brain from scratch. This system can automatically capture information from the web, intelligently organize your notes and documents, and allow you to explore and utilize this knowledge through natural language conversations. Whether you are a knowledge worker, researcher, or student, you can effectively manage digital data, achieving automatic growth and flow of knowledge, turning your notes into an intelligent partner that interacts and learns with you.
Overall Architecture
The architecture of this AI second brain is based on an integrated model of ‘local note hub (Obsidian) + cloud synchronization (Google Drive) + AI automated management (Claude Code/Codex) + external information capture (Web Clipper)’. The core concept is to layer raw data, personal creations, and AI-refined knowledge, ensuring the purity of data sources and the automated growth of the knowledge system. Through timed scheduling by the AI Agent, the system can automatically process new data and generate structured reports, ultimately creating a smart knowledge base that self-learns and continuously expands.
§2 前置準備
§3 Step-by-step
建立本地與雲端基座
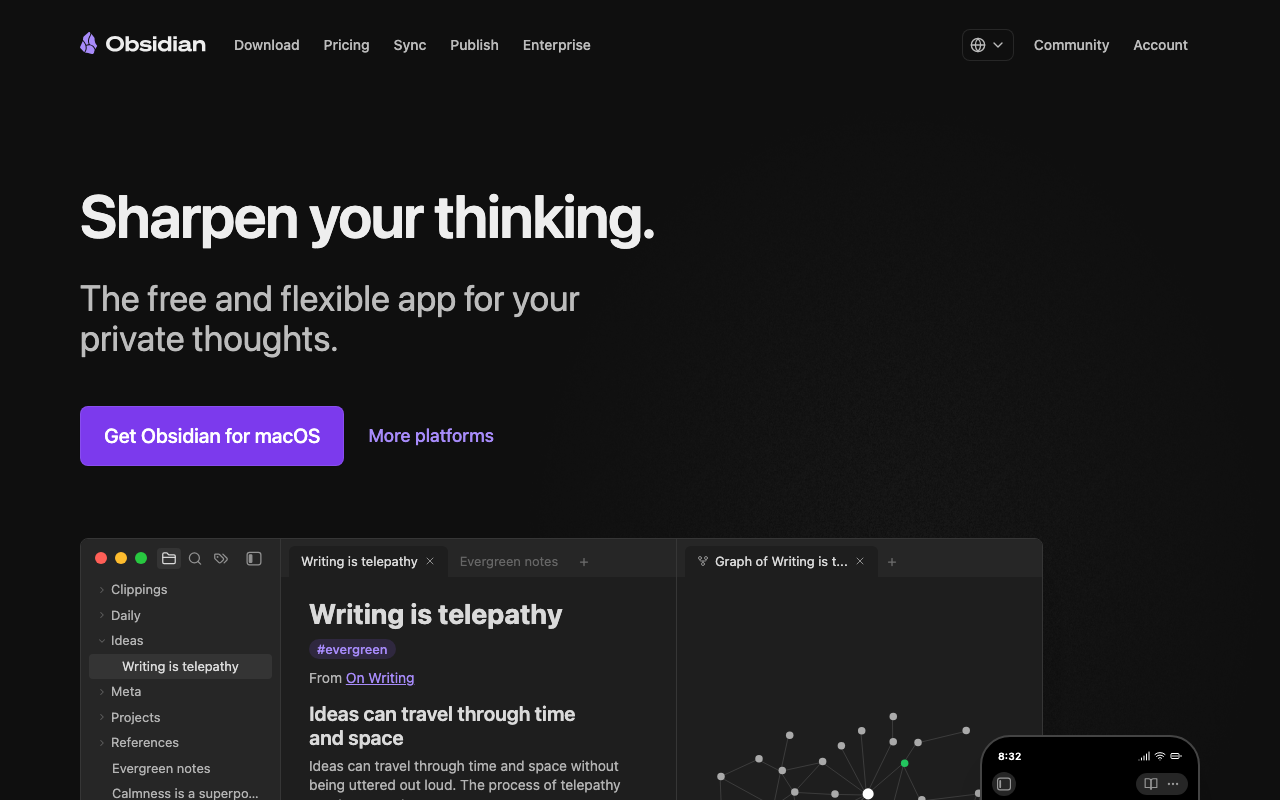
Do 安裝 Obsidian 筆記軟體與 Google Drive 桌面版。
Why Obsidian 是我們本地的筆記中樞,Google Drive 則負責將筆記同步到雲端,實現跨裝置存取與備份。
前往 [Obsidian 官網](https://obsidian.md/) 下載並安裝應用程式。
前往 [Google Drive 官網](https://www.google.com/drive/download/) 下載並安裝桌面版,登入你的 Google 帳號。
Verify 在你的電腦檔案總管中,能看到一個名為「Google 雲端硬碟」的磁碟區或資料夾,代表同步已成功啟用。
連接 AI Agent 與 Obsidian
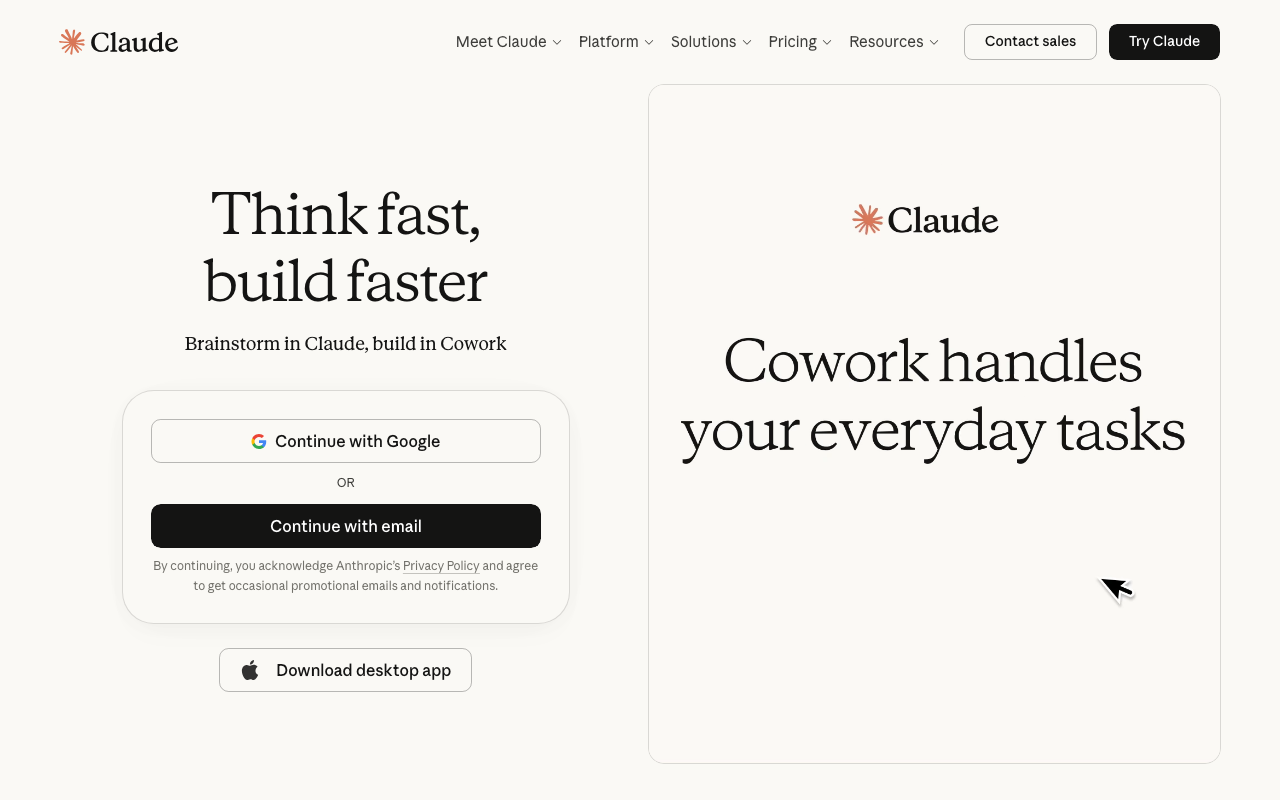
Do 使用懶人包,讓 Claude Code (或 Codex) 能夠讀寫你的 Obsidian 筆記庫。
Why 這是實現「AI 自動整理筆記」的關鍵一步,授權 AI 成為你的筆記管理員。
打開 Claude Code 桌面版,建立一個新專案。
下載「Obsidian 第二大腦懶人包」(.md 檔案) 並將其拖曳到 Claude Code 的對話視窗中。
根據 AI 提示,它會引導你選擇一個 Obsidian Vault (筆記庫) 的位置。**請務必選擇存放在 Google Drive 資料夾內的某個位置** (例如 `G:\我的雲端硬碟\Obsidian\second-brain`)。
AI 會安裝 MCP (機器人控制協議) 來建立連接。
**關鍵**:安裝完成後,徹底關閉 Claude Code (可從工作管理員確認),然後重新開啟。
Verify 重新開啟 Claude Code 後,對 AI 說「測試 Obsidian 連接」,AI 應回報「連接成功」並能讀取到每日筆記。
建立三層式資料夾結構
Do 在 Obsidian 中,手動建立三個核心資料夾:`01_Clipping`、`02_創作庫`、`03_知識庫`。
Why 這是實現「自動成長」但「原始資料不被污染」的核心架構。Clipping 放外部抓來的,創作庫放你寫的,知識庫放 AI 整理過的。
打開 Obsidian 應用程式。
在左側的檔案列表中,點擊右鍵「新增資料夾」。
依序建立 `01_Clipping`、`02_創作庫`、`03_知識庫` 三個資料夾。
Verify 三個資料夾成功顯示在 Obsidian 檔案列表中。
安裝與設定 Web Clipper
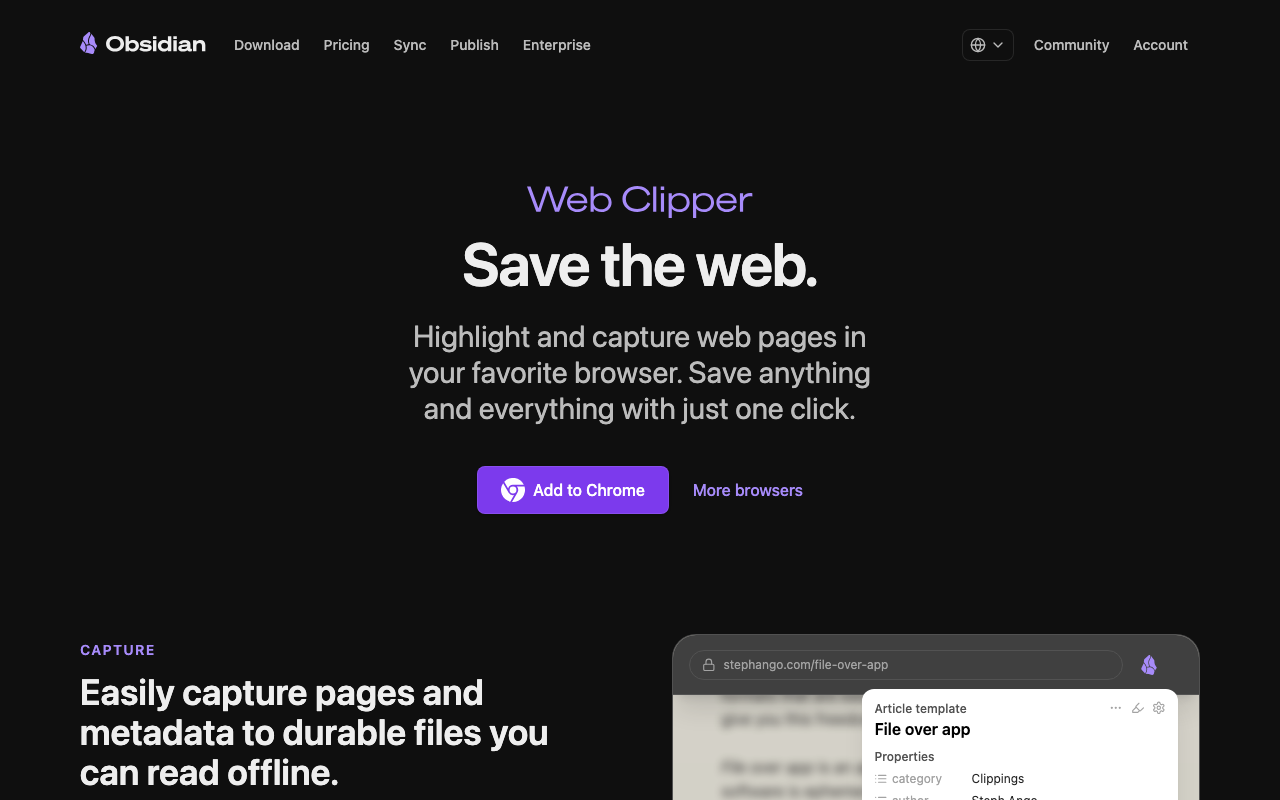
Do 在 Chrome 瀏覽器安裝 Obsidian Web Clipper 擴充功能。
Why 讓你一鍵將網路上的優質文章、報導、YT 字幕儲存到你的第二大腦中。
前往 Chrome 線上應用程式商店,搜尋「Obsidian Web Clipper」並安裝。
在 Obsidian 中,進入「設定」->「社群外掛」,安裝「Web Clipper Helper」。
回到 Chrome 擴充功能設定,將儲存位置指向你建立的 `01_Clipping` 資料夾。
Verify 在任何網頁上按右鍵,選擇 Clip 功能,該網頁內容應會以 Markdown 格式儲存在 Obsidian 的 `01_Clipping` 資料夾中。
設定 AI 自動整理排程
Do 在 Claude Code 中設定一個每週執行的排程任務,讓 AI 自動整理新進的筆記。
Why 讓你的第二大腦擁有生命力,會「自動成長」。
在 Claude Code 中,對 AI 下達指令:「請建立一個每週日晚上10點執行的排程任務。」
任務內容為:「讀取 `01_Clipping` 和 `02_創作庫` 裡過去一週新增的所有筆記,將它們的內容進行主題式摘要、分析與關聯,最後生成一份結構化的總結報告,存放到 `03_知識庫` 資料夾,檔名為『YYYY-MM-DD 每週知識精煉』。」
AI 會引導你完成排程設定。
Verify 手動執行一次該任務,檢查 `03_知識庫` 資料夾中是否成功生成了精煉報告。
§4 動手練習
動手練習
§5 自我檢核
§6 常見卡關
Claude Code 提示無法存取 Obsidian 資料夾。
最大可能是權限問題。確認你的 Vault 資料夾是建立在 Google Drive 同步目錄下,並且在 Step 2 中有正確完成 MCP 的授權與重啟流程。
Web Clipper 無法儲存筆記。
確認 Obsidian 的「Web Clipper Helper」社群外掛已啟用,並且 Chrome 擴充功能中的設定已正確指向你的 Vault 路徑。
AI 整理的報告不符合預期。
優化 Step 5 的指令。可以更明確地告訴 AI 你希望的摘要格式、主題分類方式、或需要關聯的關鍵字。
§7 延伸資源
§8 Badge unlock
🧠 AI 第二大腦建立者
完成所有步驟後解鎖。
恭喜!你已成功打造個人專屬的 AI 第二大腦,讓知識自動成長!